
Upgrade Your Drupal Skills
We trained 1,000+ Drupal Developers over the last decade.
See Advanced Courses NAH, I know EnoughLanding pages are great for product presentation and customer engagement.
There are a must for today marketing campaigns, mobile advertising and sales development.

There is no easy way to build a simple landing page in Drupal.
You can use custom themes or modules to manage layout like parade but it is not that simple. Layout options are limited. For instance. The module does the job; you can build a simple landing page without custom development, but requires a lot of dependencies for a simple page and you may still have to do some css editing.
In this article we will explain how our landing page has been constructed within Drupal 8 website using separate dedicated theme and a custom module with twig templates.
The original page which is a stand alone 1 page theme is now fully integrated in the website.
It may not be the best method, but it can be easily replicated and give more room for creativity and extra flexibility compared to a layout module or a full land page theming construction.
Part 1: the custom theme
To achieve that, we created a custom theme with only 1 region for content. When building a 1 page theme, you usually do not want side columns or extra headers and footers.
To create your theme, you only need 1 file to be saved under your custom theme folder in the Drupal 8 "themes" folder: myTheme.info.yml.
type: theme
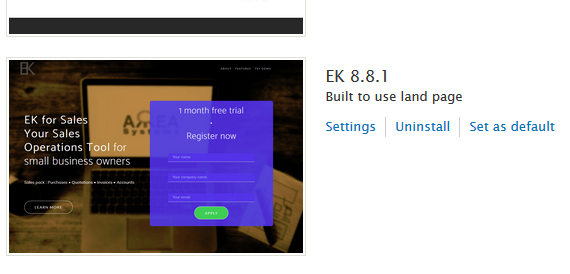
base theme: false name: 'EK'
description: 'Built to use land page'
version: VERSION
core: '8.x' regions:
content: Content
footer: FooterThis is what is needed to create the basic theme that will be used in our landing page. We keep a region "footer" to insert hidden blocks or content.
This theme will be called on specific routes names and will replace the default theme of the site.
You can add a screenshot image also in the theme folder if you want to enhance your admin view.
In the next step we will explain how our custom module switch theme for dedicated url and build the landing page with twig template. For that step you will need some knowledge on creating a simple module, insert libraries and make a twig template.
Context
EK application has a module that store personal documents for user. When user account is deleted, those documents may be transferred to another account.
To achieve that, we need to alter the user account cancel form when building the form, validating and submitting it.
Let's review the 3 steps.
BUILD
The form before altering it looks like this
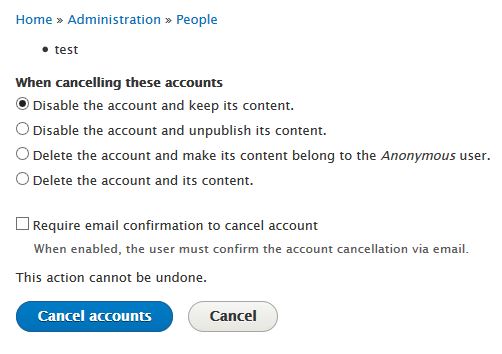
We need to add a field to select another user account to which the document of the canceled account will be moved to.
To achieve that we Implements hook_form_alter() in MyModule.module:
function MyModule_form_alter(&$form, \Drupal\Core\Form\FormStateInterface $form_state, $form_id) {
  if ($form_id == 'user_multiple_cancel_confirm') {
        $form['move_uid_documents'] = [
      '#type' => 'textfield',
      '#title' => t('Move uer documents'),
      '#autocomplete_route_name' => 'MyModule.user_autocomplete',
      '#description' => t('Select to whom to transfer personal documents'),
    ];
    $form['#validate'][] = 'MyModule_form_user_delete_validate';
    $form['#submit'][] = 'MyModule_form_user_delete_submit';

    return $form;

  }
}
What we can notice here is:
- We alter selected form defined by form ID. In this case : "user_multiple_cancel_confirm";
- We create the required field by returning $form['move_uid_documents'] ;
- We add 2 new actions for validation, $form['#validate'][], and submit, $form['#submit'][], for the next steps.
After altering the form will look like this:
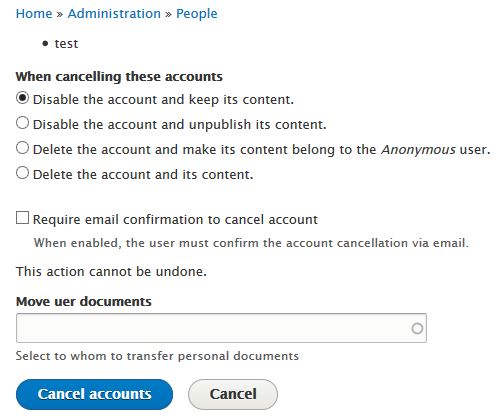
We have a new field to select user. In our case, we also have an autocomplete function that helps selecting existing user. However, we need to ensure that the value entered in the field is really an existing user. This is the part handled by the validation.
VALIDATE
The validation is defined in MyModule_form_alter by adding validate callback named MyModule_form_user_delete_validate. Therefore, we need to create the function with thah particular name in MyModule.module.
function MyModule_form_user_delete_validate(&$form, \Drupal\Core\Form\FormStateInterface $form_state) {
  if ($form['#form_id'] == 'user_multiple_cancel_confirm') {
        if ($form_state->getValue('move_uid_documents') <> '') {

            $query = "SELECT uid FROM {users_field_data} WHERE name = :n";
            $data = db_query($query, [':n' => $form_state->getValue('move_uid_documents')])
                    ->fetchField();
            if ($data) {
                $form_state->setValue('move_uid_documents', $data);
            } else {
                $form_state->setErrorByName('move_uid_documents', t('Unknown user to move documents'));
            }


        }

     return $form;

  }
Here the function will check against user_field_data table that the id is valid.
If not an error message will be displayed:
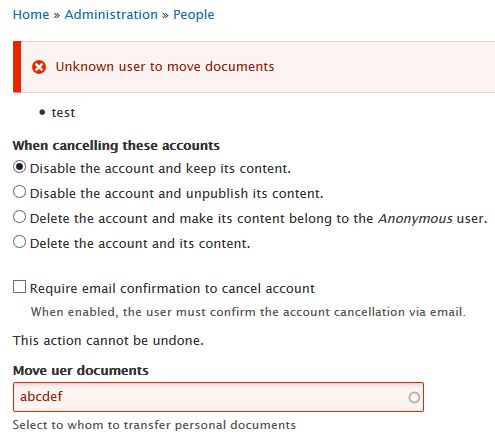
However, if valid, we store the value to be used in the next step which is the submission.
SUBMISSION
As for validation, the submission is defined in MyModule_form_alter by adding validate callback named MyModule_form_user_delete_submit.
function MyModule_form_user_delete_submit(&$form, \Drupal\Core\Form\FormStateInterface $form_state) {
if ($form['#form_id'] == 'user_multiple_cancel_confirm') {
if($form_state->getValue('move_uid_documents')){
foreach($form_state->getValue('accounts') as $key => $id) {
\Drupal::database()->update('MyModule_table')
->fields(['uid' => $form_state->getValue('move_uid_documents'), 'folder' => t('Moved from user @u', ['@u' => $id])])
->condition('uid', $id)->execute();
}
}
\Drupal::messenger()->addStatus(t('Documents moved to user @u', ['@u' => $form_state->getValue('move_uid_documents')]));
return $form;
}
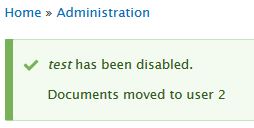
}In the function above, we pick the id of each user account that is canceled and change to new user id in the document table.
The function also display a message to confirm actions: both cancellation and the submit hook have been executed.
Please feel free to comment or suggest improvements.
Thank you.
About Drupal Sun
Drupal Sun is an Evolving Web project. It allows you to:
- Do full-text search on all the articles in Drupal Planet (thanks to Apache Solr)
- Facet based on tags, author, or feed
- Flip through articles quickly (with j/k or arrow keys) to find what you're interested in
- View the entire article text inline, or in the context of the site where it was created
See the blog post at Evolving Web